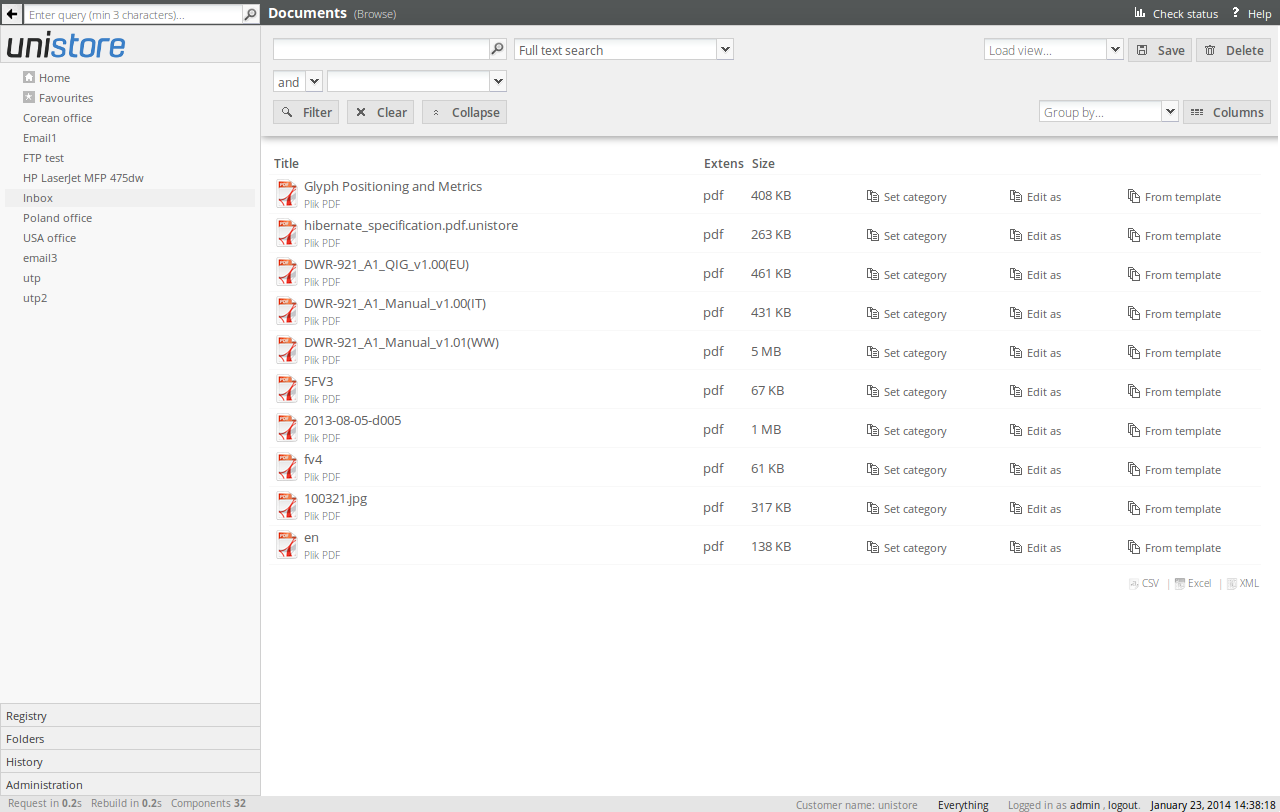
After uploading a document to the Unistore inbox, it is then shown in the inbox view on main navigation panel:
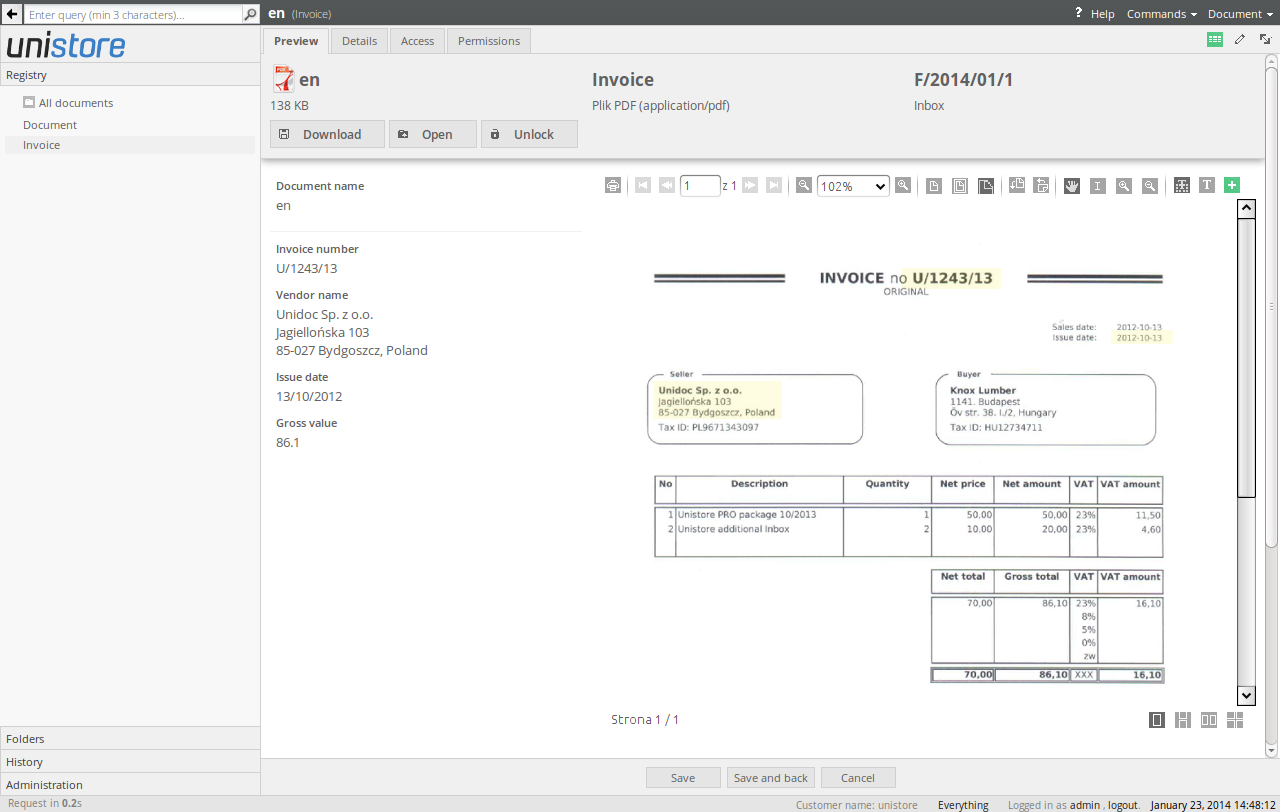
After you click the document link you are directed to the document view. It consists of the header with the document properties, the form and the scanned document preview (which requires to have installed latest Java):
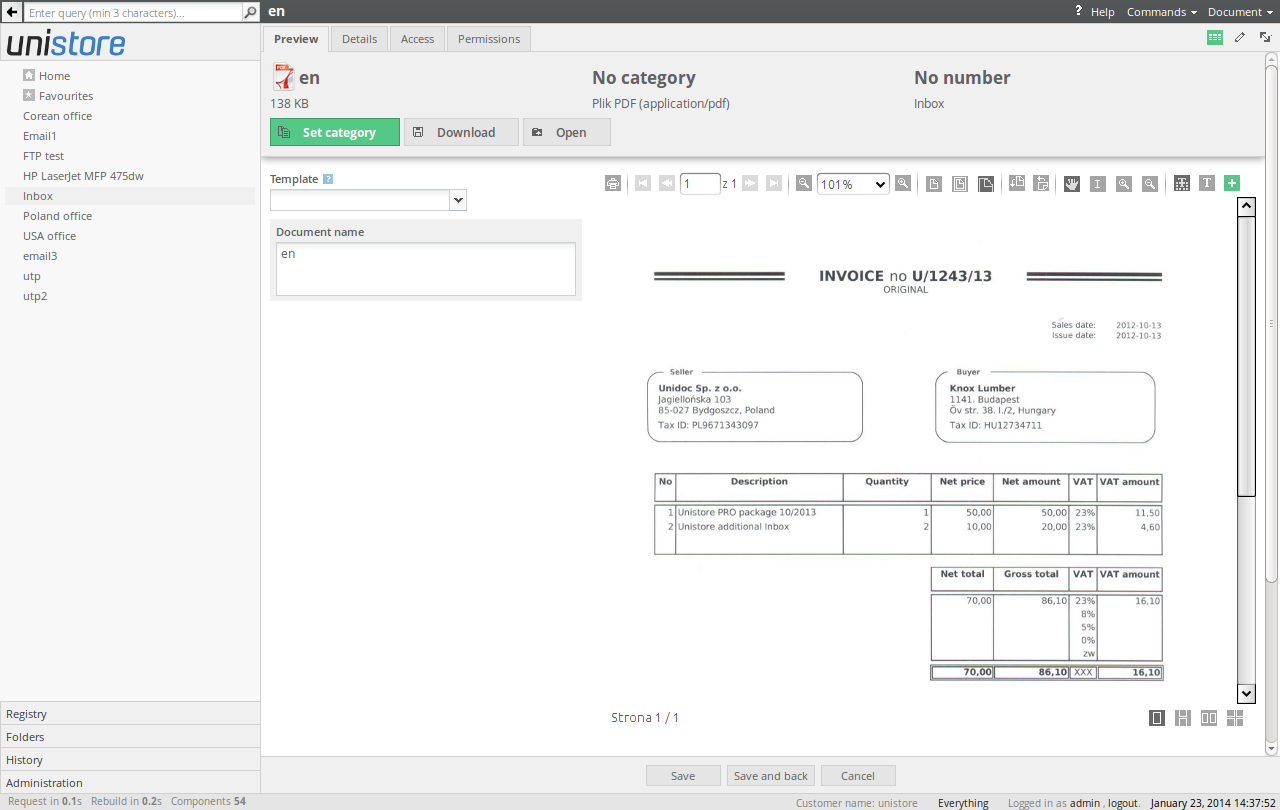
In this view you can process and describe the document: assign it to one of defined document categories, fill the form, set tags and change access permissions for other users. The first step is to choose the document category by selecting appropriate item from the list appearing after clicking the Set category button:

Unistore analyses the document content and tries to recognize the category automatically. The most likely category is always displayed as the first item on the list.
After setting the category the screen is switched to the form filling mode. In this mode the document header is hidden to maximize the document preview. Unistore provides three viewing modes, which can be switched by the user using icons in the top right corner:
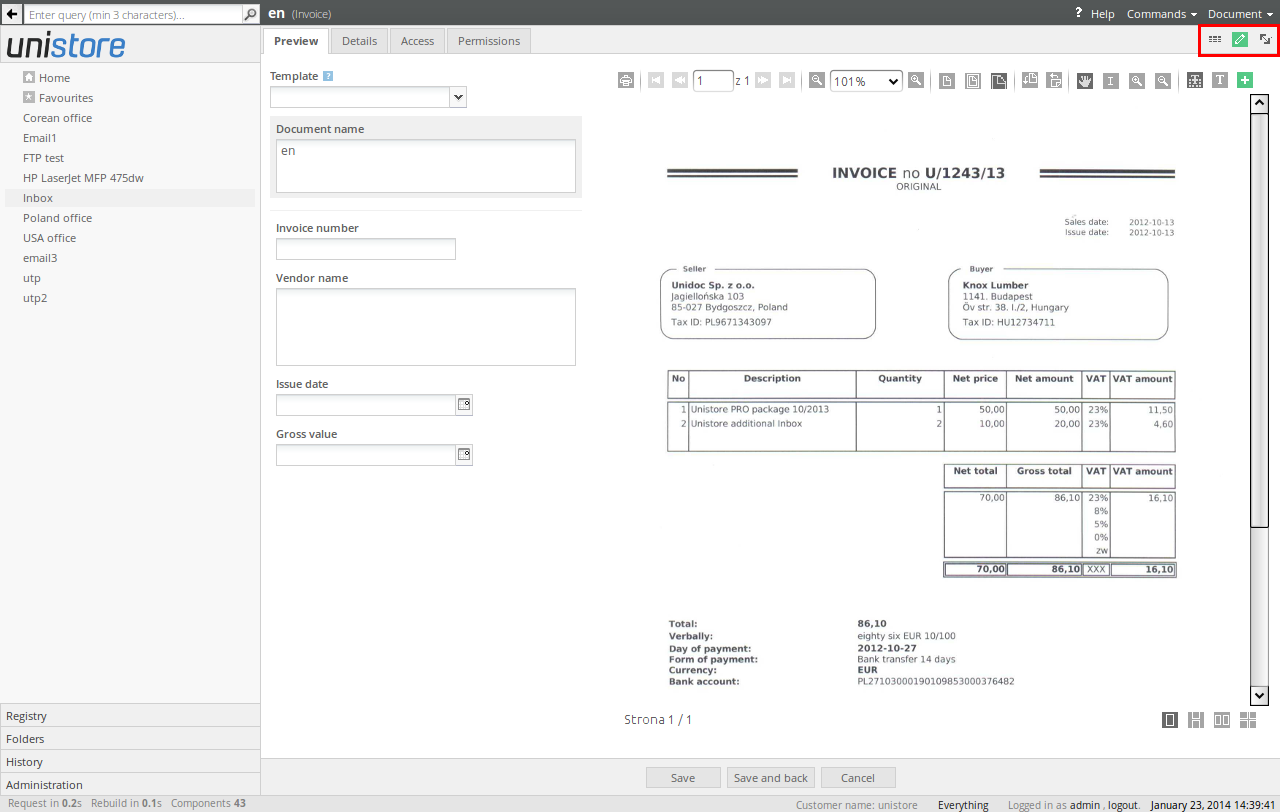
The possible view modes are following:
- Default view mode - this is default mode with document header.
- Form filling mode - the header is removed in order to maximize the document preview and facilitate the form filling process.
- Maximized view mode - in this mode only the document preview is shown (whole available area is used for document preview).
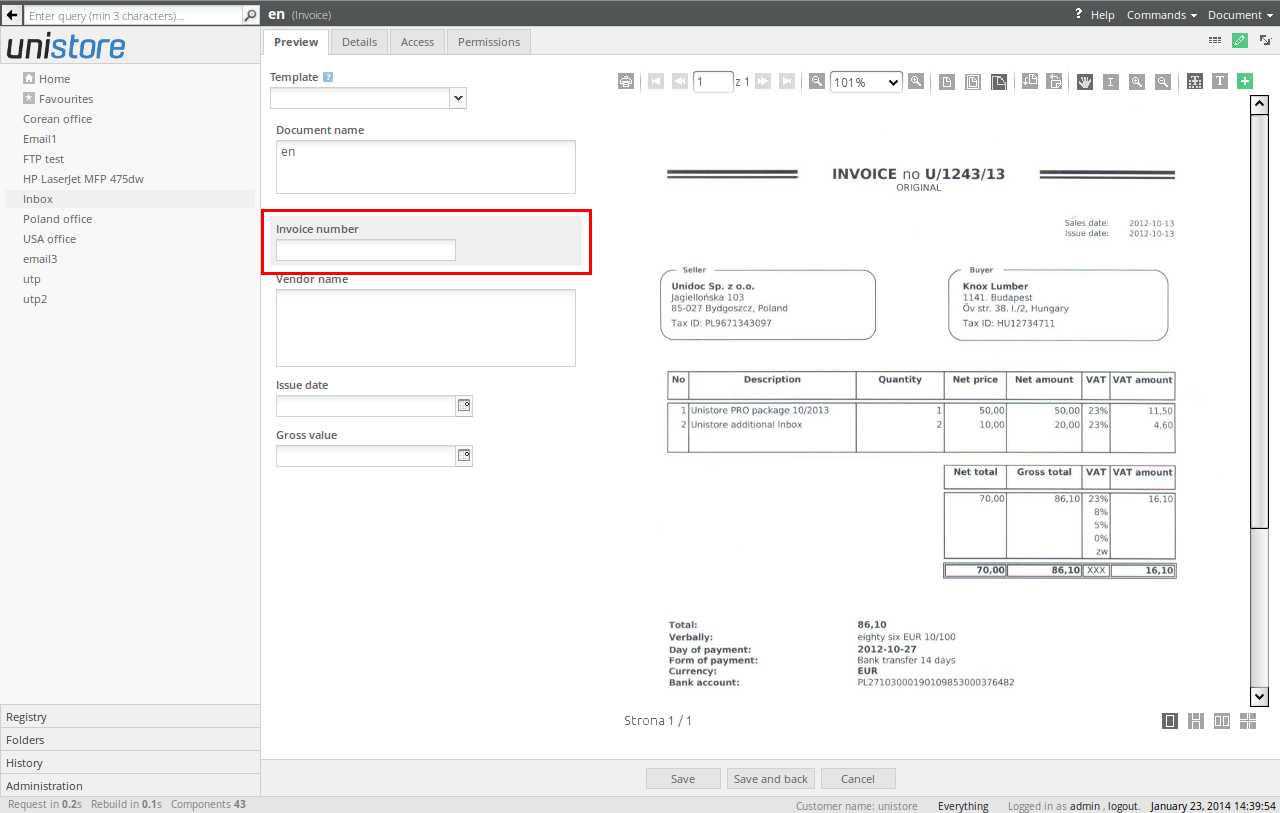
After setting the category you can fill the form fields one after another. To do it, you first need to click one of the form fields to activate it. The active form field is displayed as highlighted:
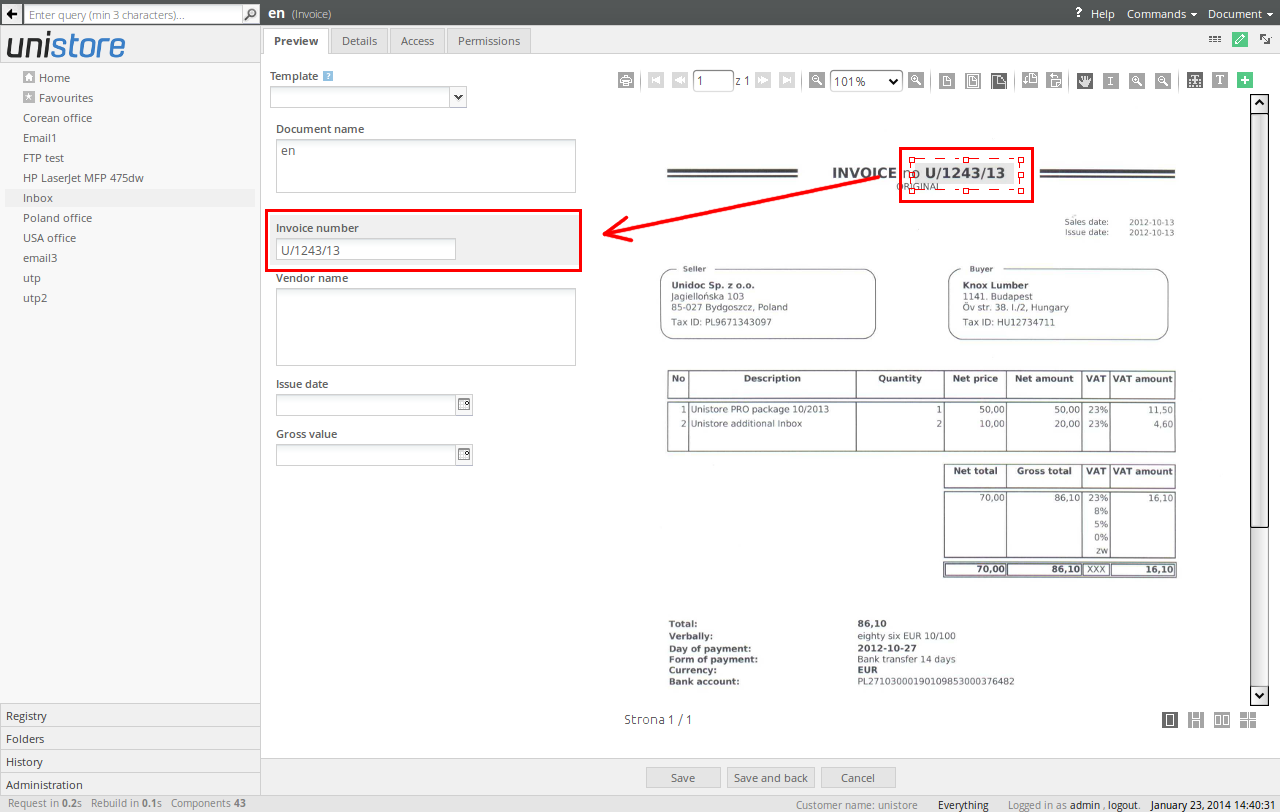
To insert the data from the scanned document to the form field, you need to define the area encapsulating given text fragment on the document preview. In order to do that you first need to click ![]() button, which allows you to create a new area, and then to create this area in a concrete location of the document:
button, which allows you to create a new area, and then to create this area in a concrete location of the document:
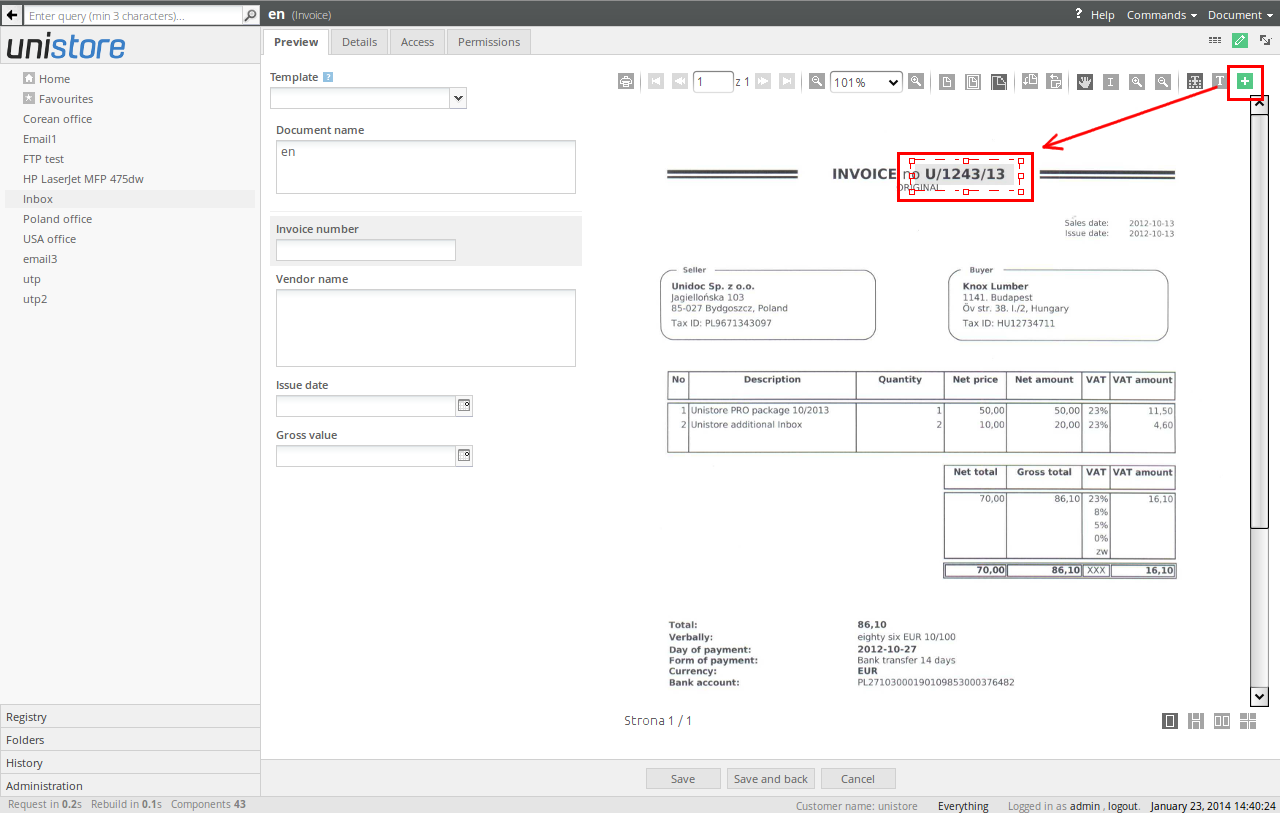
After creating the area it is enough to double click it with left mouse button to insert the encapsulated text to the active form field:
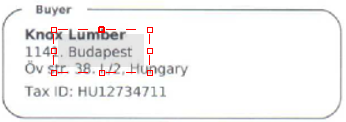
The best way to define the area is to choose a little bigger scope than the text fragment itself. Unistore inserts into the form fields only fully enclosed words, without the words enclosed partially. This way user can define the area "more or less", without focusing on exact area size. Moreover this method prevents from inserting incomplete text fragments to the form.
The quality of the text content depends on overall scanned document quality and the OCR engine accuracy. If the text contains errors, user can always fix them manually.
The above steps need to be repeated for each form field in order to fill them all. After the work is done the document can be saved:
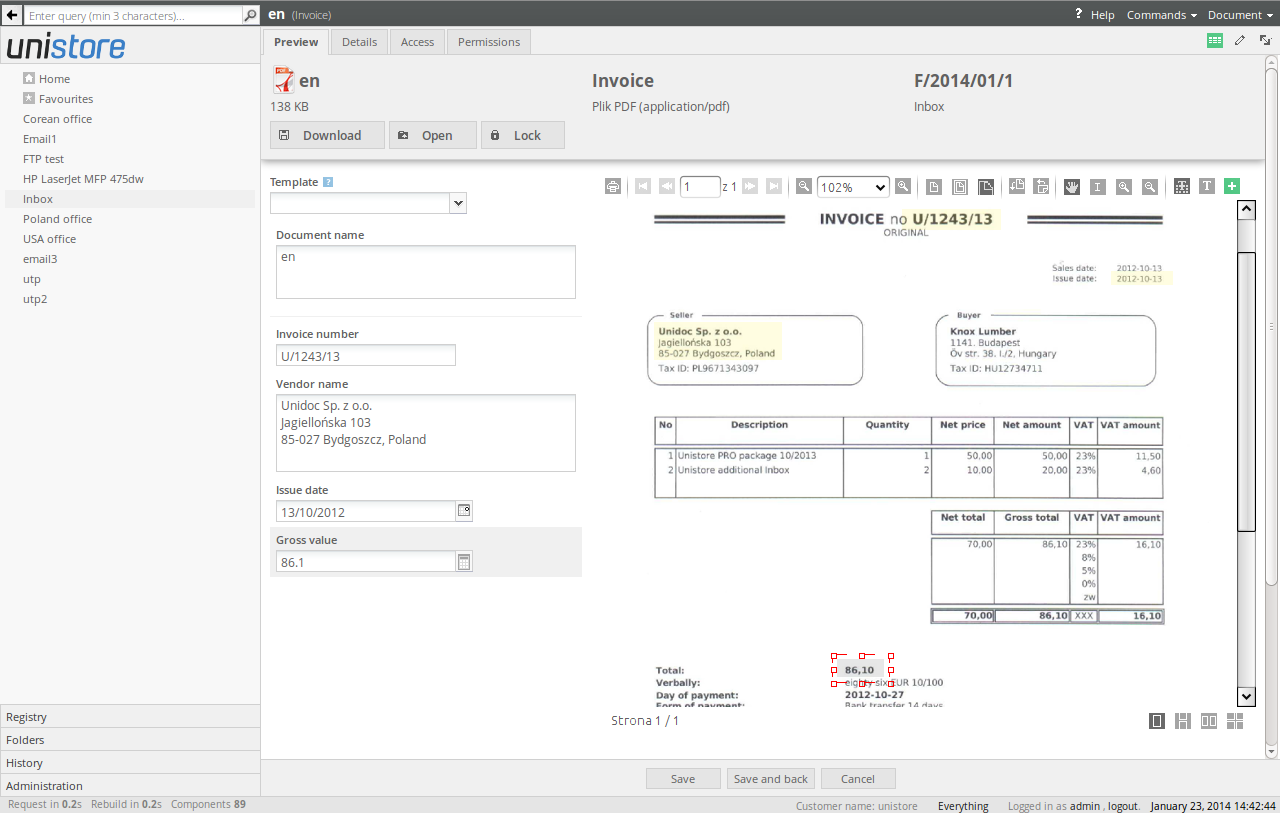
The area positions are saved together with the document, and they always can be fixed afterwards.
Thanks to the form filling feature Unistore provides a wide range of other facilities allowing to work with the archived documents, such as: filtering documents using various criteria, creating document views, grouping and sorting document lists and exporting the data to external tools.
Tags
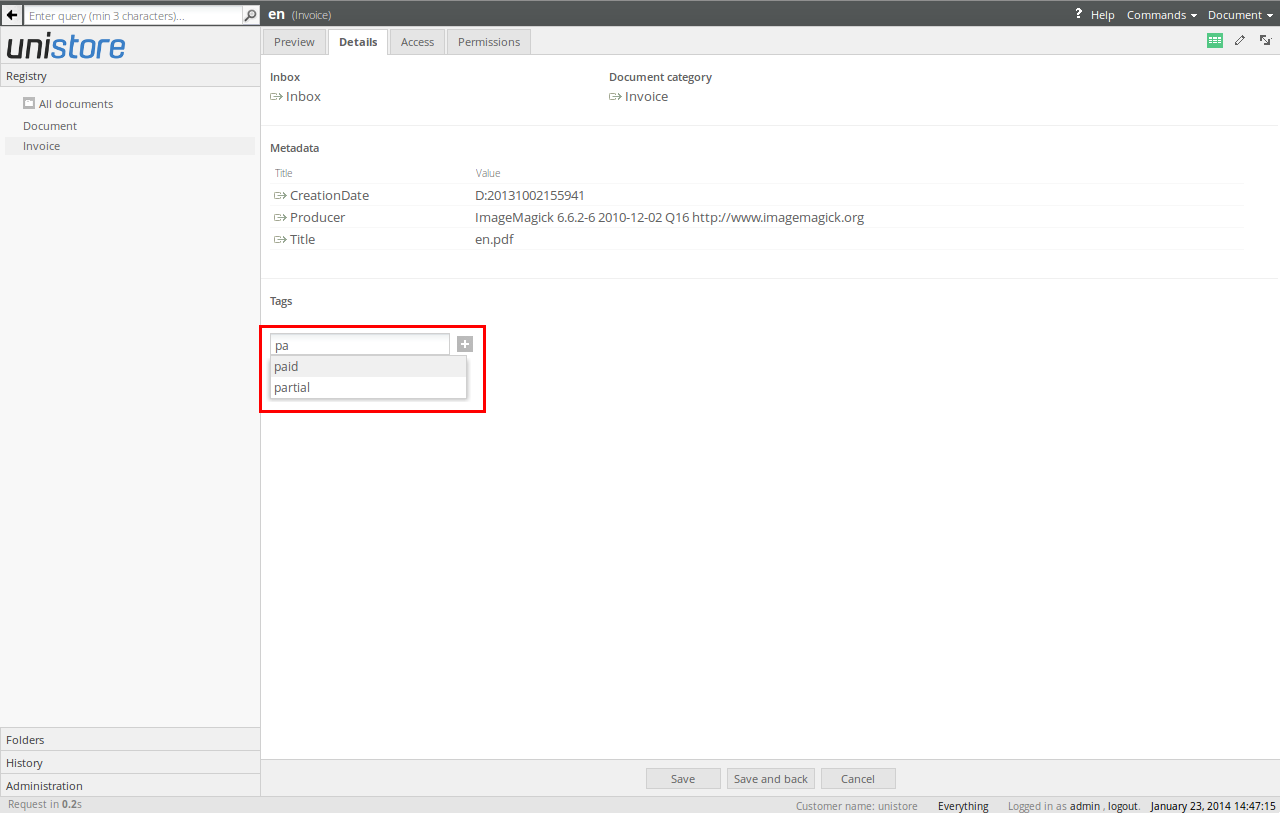
Another way to describe the document is to use tags feature. In order to add the tag to the document you have to switch to the Details tab. To create new tag you need to enter the tag name. If similar tags already exist in the system, it displays a list of them after entering the part of the tag name:
After clicking ![]() button, the tag is being added to the document:
button, the tag is being added to the document:
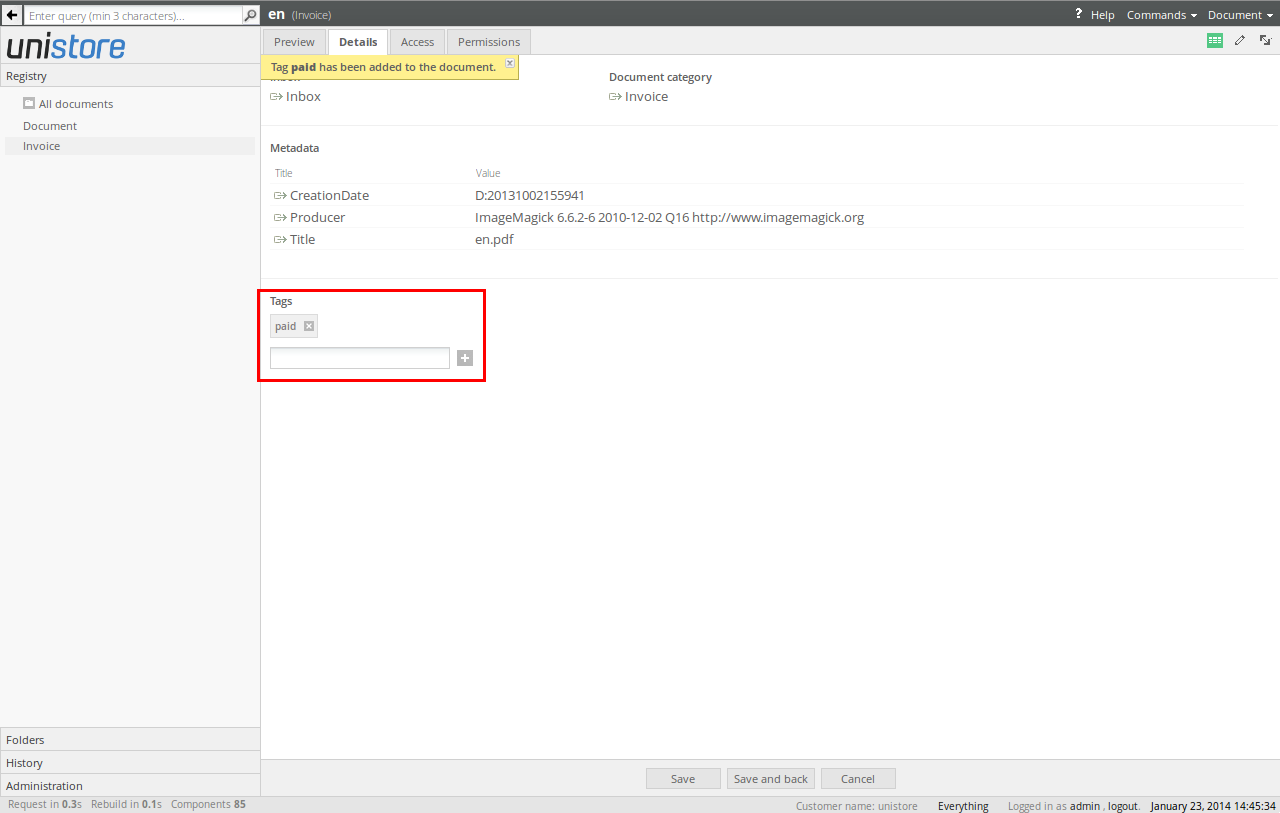
You can then easily look for the documents in the archive marked with particular tags.
Locking document
When the document is entirely described and should not be changed in the future, you can lock it. In order to do that you need to click the Lock button on the document view header:

After locking the document, all its fields become inactive and protected against further changes:
Only the system administrator can unlock the locked document.